How can we help?
Our Enhesa Product Intelligence quick start guide, online tutorials, and FAQs are on-hand to help you with any queries you might have.
Intuitive navigation and homepage
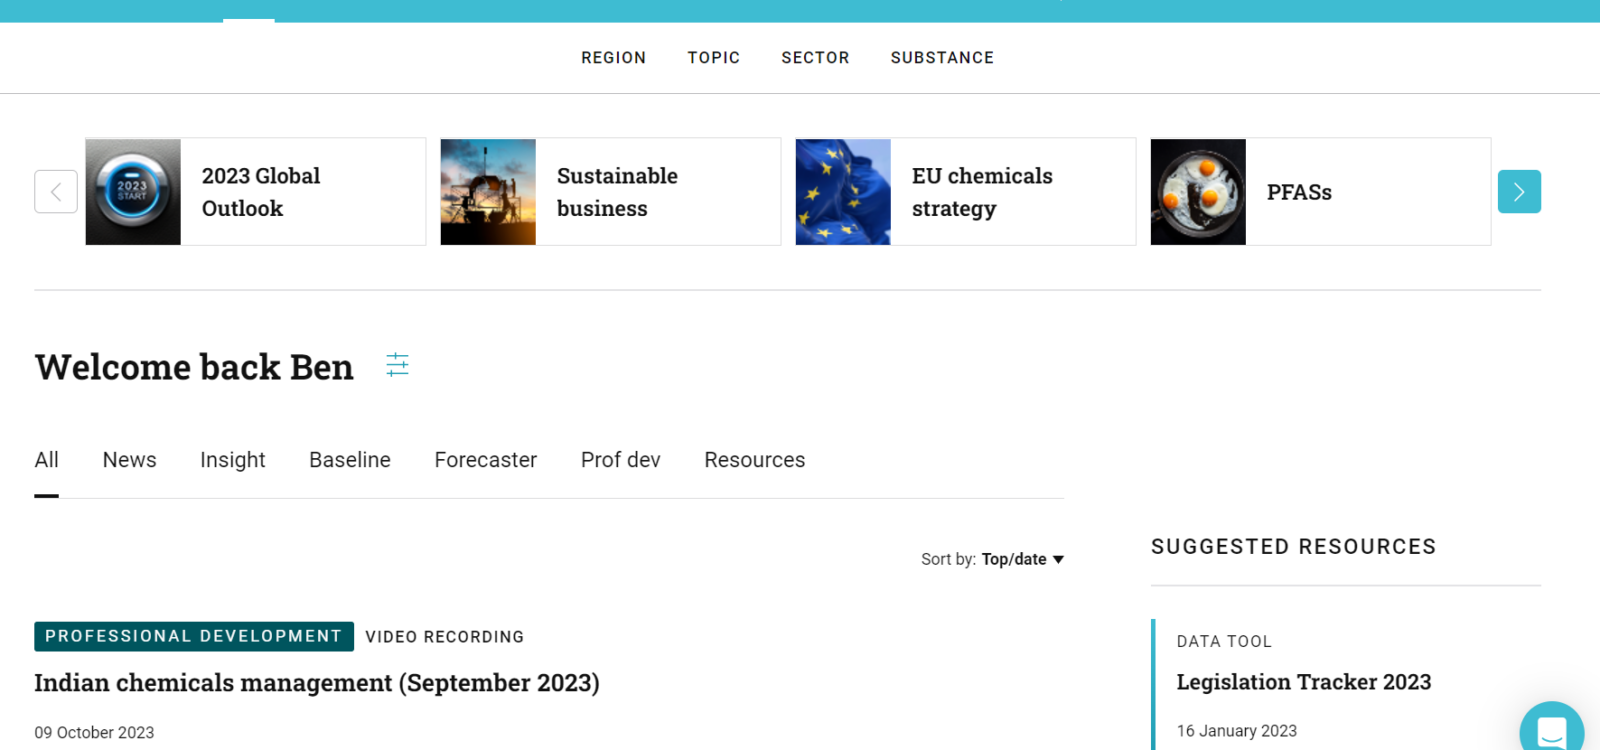
Our new main navigation gives you simple one-click access to our pre-set ‘Lens’ views on regions, key topics, substance groups, and key
sectors enabling you to navigate quickly to the latest coverage.
Our homepage is the place to start to get the most important intelligence and insight right now. Hot topics appear at the top of the page for easy access and our handpicked top stories are highlighted with a star icon.
Drill down into the content by selecting your preferred content type – either News or Insight. Resource types (eg. Regulation, Law, Video) are easily identified by a tag above the headline.
We’ve also surfaced additional popular articles along with suggested conferences, training, webinars and eLearning to help you get more from the service.
Powerful search and filtering tools
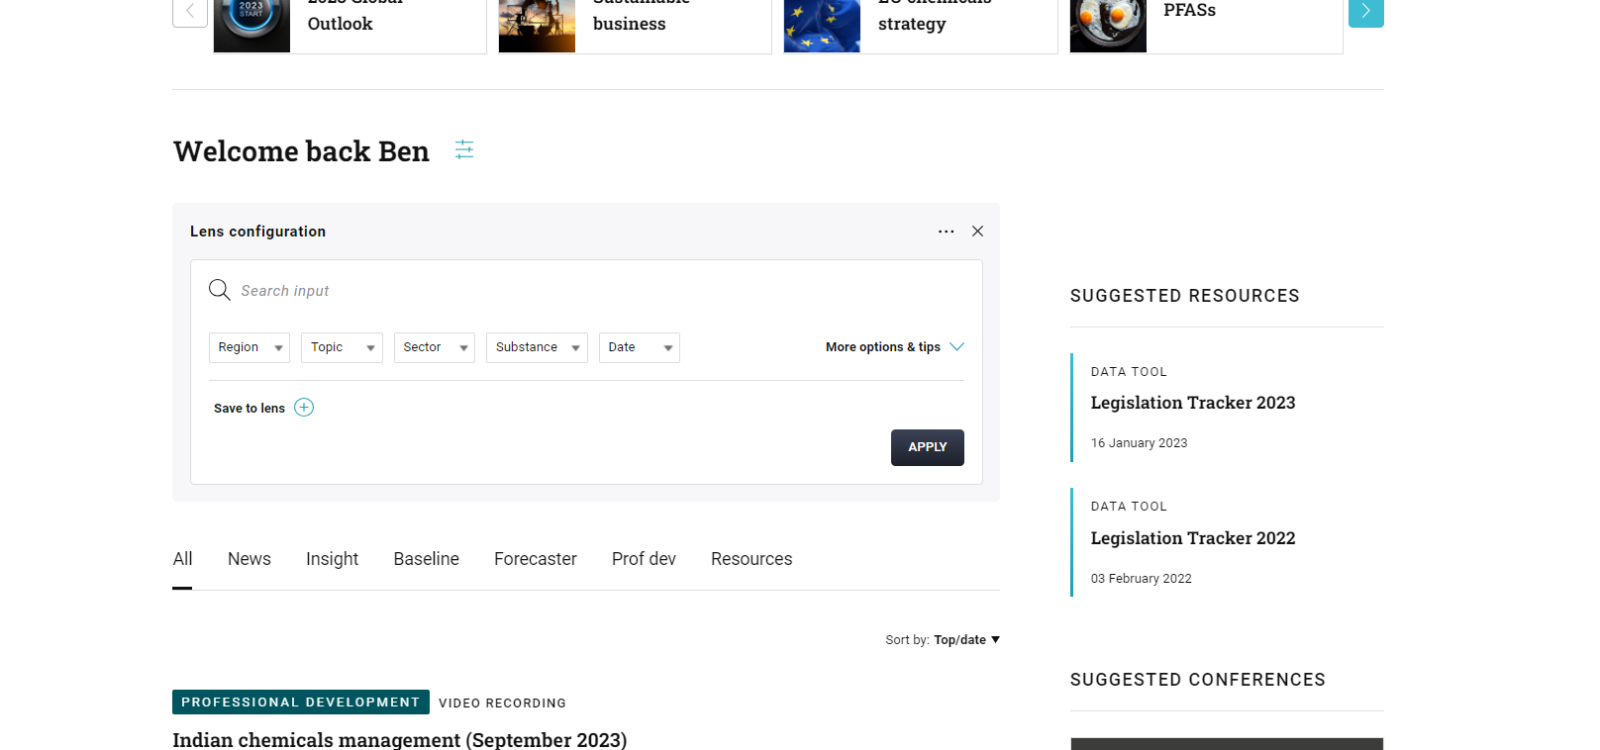
Our search tool looks like any regular search box but uses clever semantic fingerprinting technology to deliver the most relevant and accurate results. This basically means we have enriched our content with lots of really useful tags to make your search results higher quality and more precise.
The search also features an enhanced chemical search which connects chemical names, synonyms and chemical substance CAS numbers to identify relevant content and resources saving you time and ensuring you don’t miss critical info on your key substances.
Personalized ‘Lenses’ and custom notifications
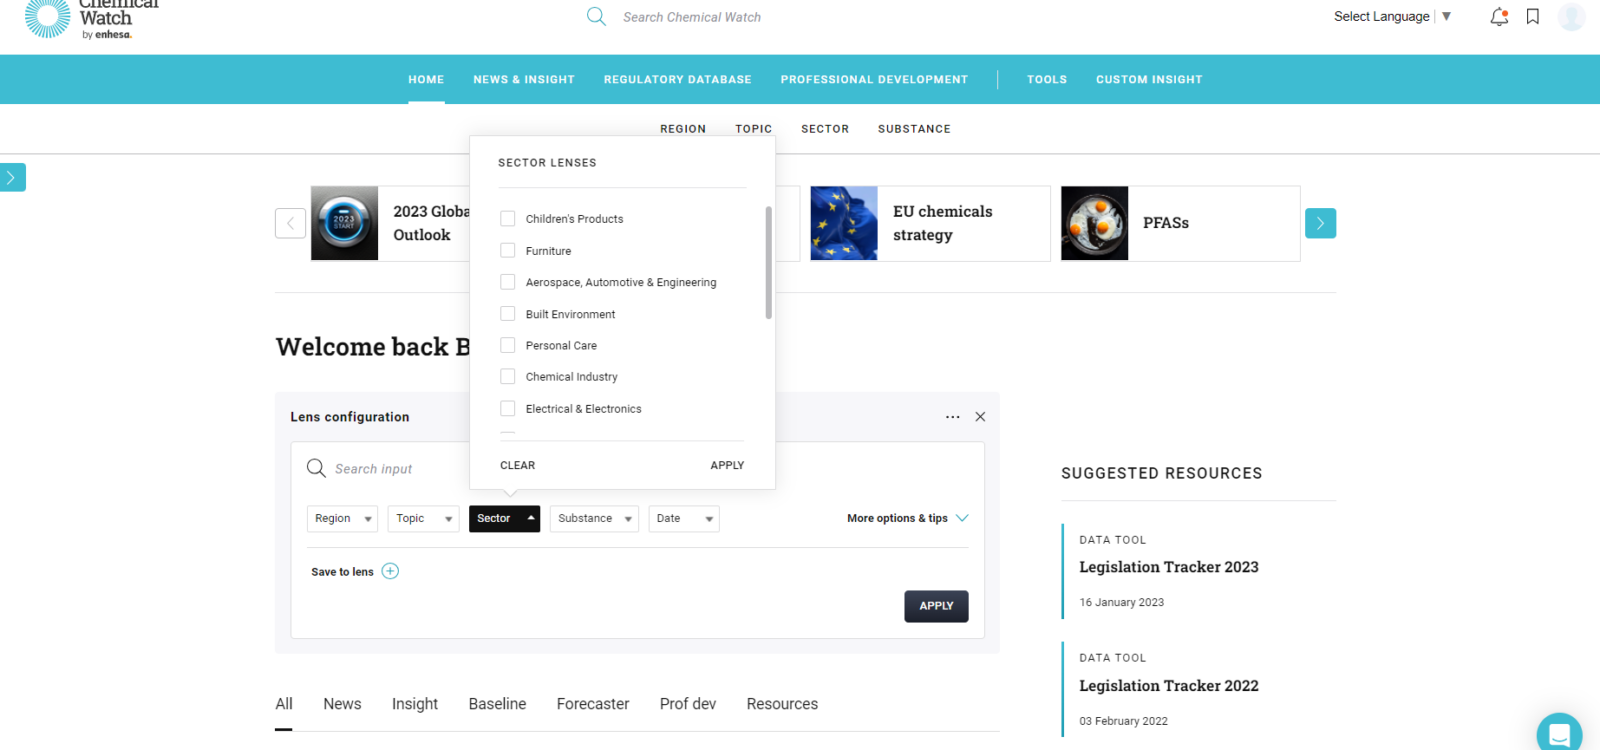
Our intuitive navigation menu offers you a quick way of viewing all the content we have to offer relating to a specific region, topic, sector or substance. These preset views, or ‘Lenses’ take you quickly to the content you’re most interested in.
You can also create personalized Lenses and custom notifications for the content that matters to you. Save your key searches, filters, and areas of interest into a single Lens view which will update with the latest content for easy and regular access. Plus share your personalized Lenses with colleagues and teams from across your organization.
How to use lenses
Expand for more details
Creating and using Lenses is easy:
- Create a search or select filters on any of the main navigation views.
- Click on ‘Save to Lens’ button (either to the right of the search or below the filters list)
- Give the Lens a clear descriptive title and create
- Turn on notifications and choose your desired frequency to get email and website updates of new content added to your Lens.
- Share your Lens with colleagues as you create a new Lens, or at a later date (remember we give your organization enterprise-wide access). Choose whether they can ‘view only’ or ‘edit’. As soon as you share a Lens, your colleagues will receive an email notification
- Click on the blue arrow tab on the left of your screen to see all your saved Lenses.
You can save as many Lenses as you like and edit and delete any time.
Collaborative ‘Groups’
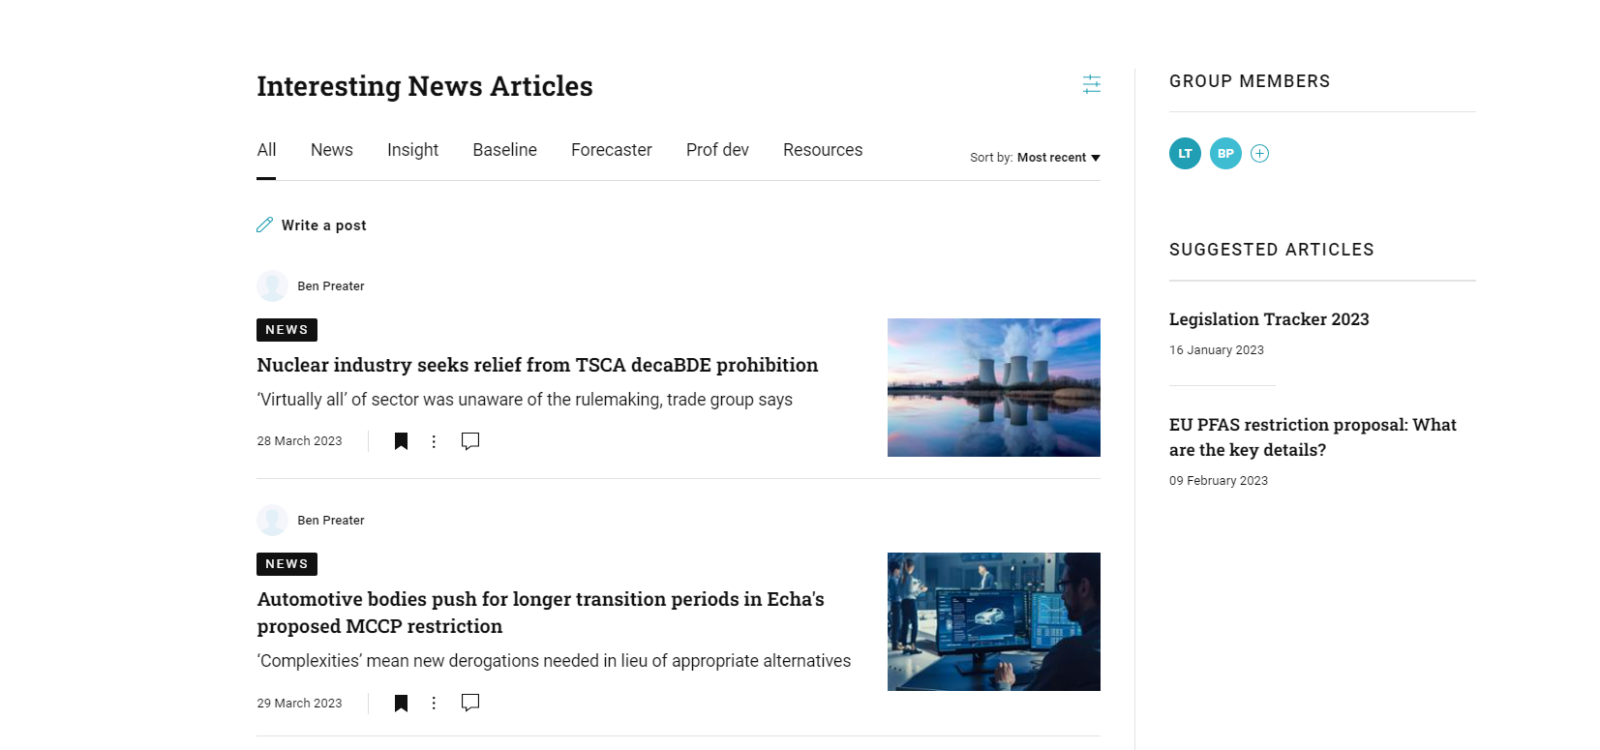
Create themed collaborative ‘Groups’ around specific activities of your choice, such as new products, market entries, one-off projects, business critical issues, or M&A activities. Easily post handpicked content to your groups from anywhere on the platform.
Groups are distinctive from the Lenses in that they contain only the handpicked content posted by the Group members, whereas Lenses automatically update the Lens view with the latest articles in those areas. This means they are perfect for grouping together the most important information and intelligence on a specific topic and sharing it with your team.
NEW features in Groups
- Comment and add your own text posts to Groups with the new ‘Write a post’ option at the top of the page.
- Tag your colleagues in comments or posts to bring their attention to what you are writing/posting (simply type the ‘@’ sign and then start typing a name)
- Receive notifications on our platform and by email whenever someone comments on or replies to a post, or tags you in a comment or post.
- Set your Group notifications to instant, weekly or off (although if someone tags you in a comment or post, you will be notified despite the settings).
How to set up a group
Expand for more details
Set up your first Group in these simple steps:
- Click on the blue arrow tab on the left-hand side of your screen and this will expand the Lenses and Groups navigation. Click on the Groups ‘plus’ button.
- Give your Group a clear name and description, press save and that’s it, you’ve just created your first Group.
- Now, simply add content to your Group by clicking on the ‘Post to group’ button at the bottom of an article. If you’re looking at a list of articles, click on the ‘more’ button below the headline and select ‘Post to group’.
- Invite colleagues to view and collaborate by adding members to your Groups. Choose whether they can ‘view only’ or ‘edit’. As soon as you invite a colleague to a Group, they will receive an online notification and an email notification.
- Bring key pieces of content to the attention of the Group members by pinning to the ‘Group highlights’ section on the right-hand side. Simply click the ‘more’ button below your chosen article and select ‘Add to highlights’.
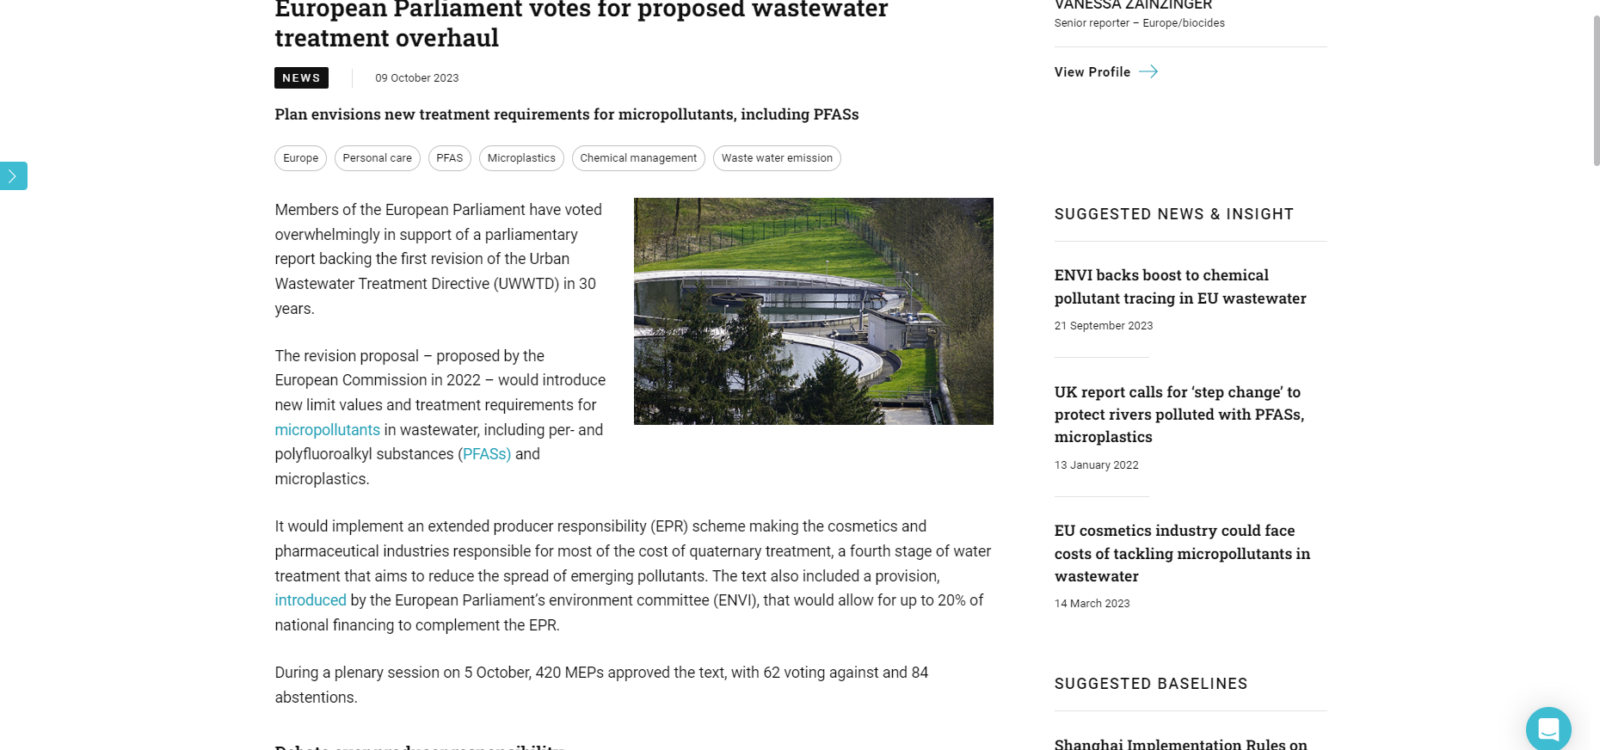
AI-powered content suggestions
Get powerful and accurate suggestions helping you to discover new and important content. Suggested articles appear on individual article and Group (coming soon) pages along the right-hand side. Other suggestions include the latest and most relevant conferences, training and webinars. You will also see the related topic tags list where you can click directly to perform a search on those topics.
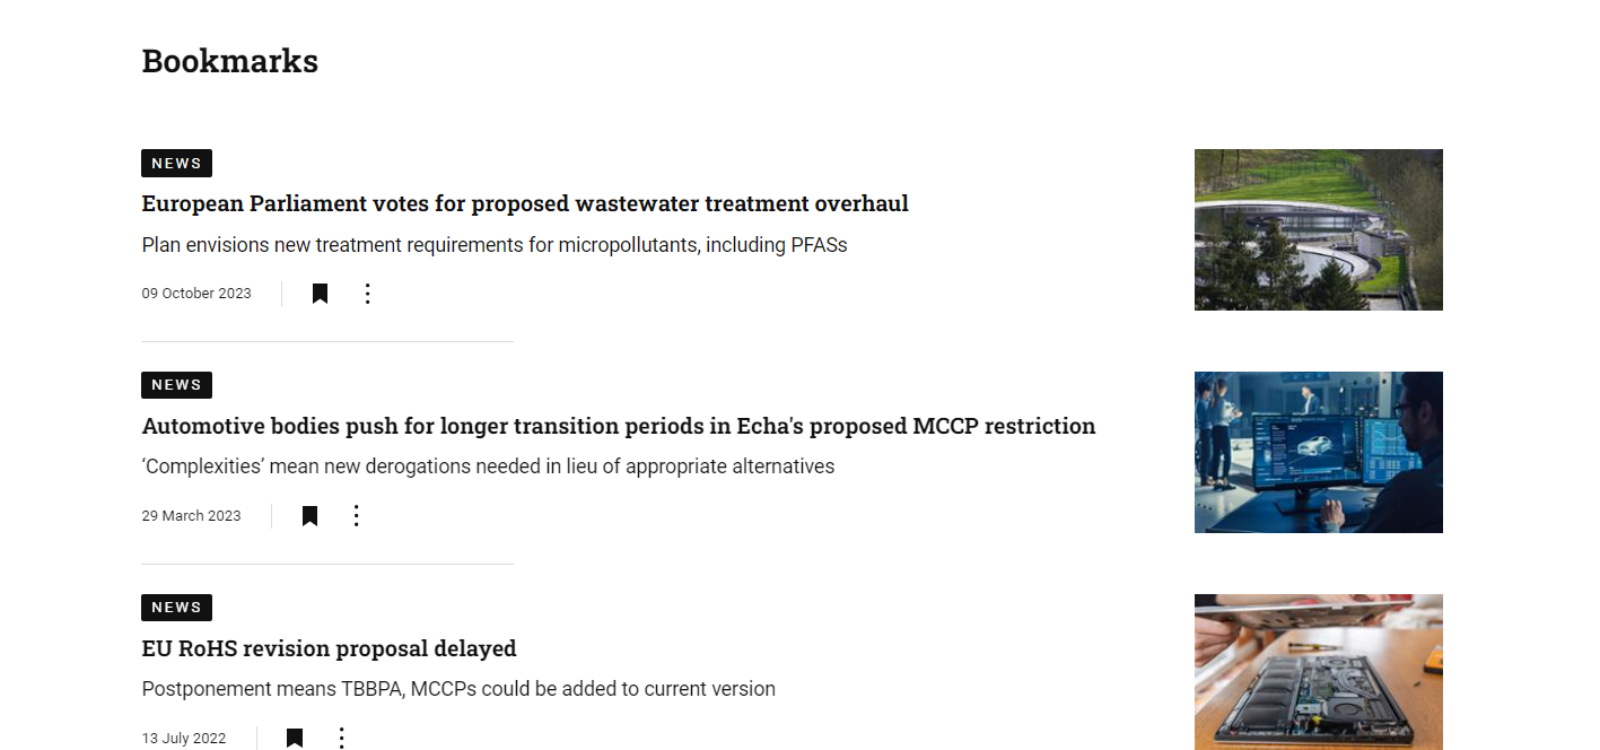
Bookmark for later reading
Handy bookmarking functionality so you can quickly save content at the touch of a button to read later or when you’re on the go. Just tap the bookmark icon below any article and then retrieve by clicking on the main bookmark icon on the top right-hand corner of the screen.
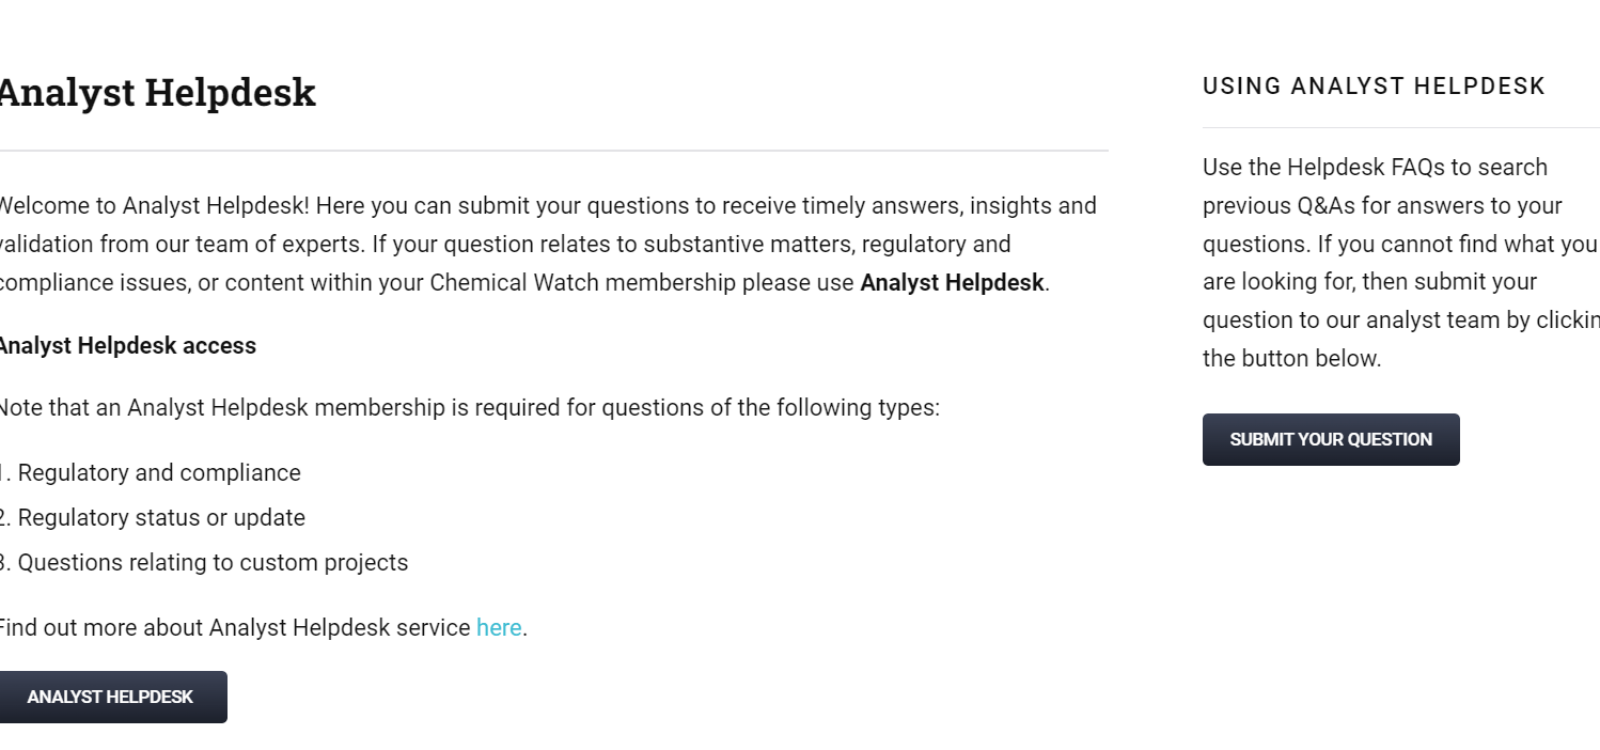
Analyst Helpdesk
Do you have a specific regulatory question? Find the answers you need with our Analyst Helpdesk (available to Advance members only). Clicking ‘Helpdesk’ in the ‘Custom Insight’ tab of the toolbar allows you to search our library of frequently asked questions (FAQs) for queries similar to yours. Alternatively, elected users can seek help directly from our Analyst Team by clicking the ‘Submit Your Question’ button and completing the subsequent form. To find out more about activating this feature, please contact your Account Manager.
Stuck or need help?
So that’s the end of the Enhesa Product Intelligence quick start guide, and we recommend you get started straight away by trying all the key features above and setting up at least two or three Lenses and Groups. Remember that you can customize your account settings by clicking on your profile icon in the top right of your screen, then choosing ‘Account settings’ from the drop-down menu.
If you do have any questions or need help on the platform, feel free to use the chat button that appears on the bottom right of the screen which includes further tours and guidance or email us at product.support@enhesa.com.
